Butchery Guide: From Novice to Nearly Pro
Welcome to the comprehensive guide unlocking the art of butchery! Learn to expertly prepare meats, enhancing flavor and minimizing waste with confidence and skill․
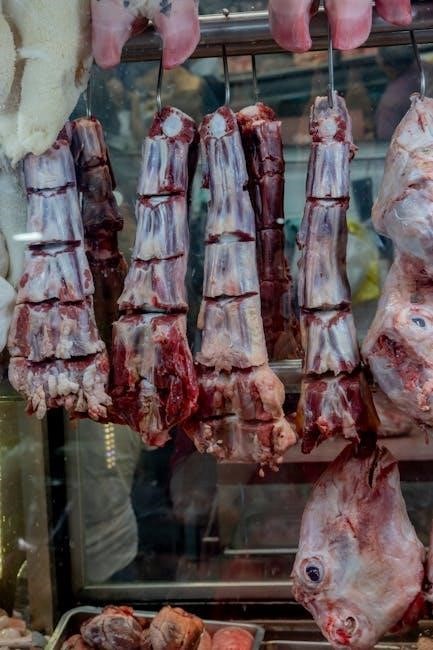
Butchery, at its core, is the art and skill of transforming whole animal carcasses into manageable and appealing cuts of meat․ Historically, it was a vital trade, connecting communities directly to their food source․ Today, while readily available pre-cut meats are commonplace, understanding butchery offers numerous benefits․
Firstly, it empowers you to select higher-quality meat, often at a lower cost, by purchasing larger cuts and processing them yourself․ Secondly, it allows for customization – you can tailor cuts to your specific cooking needs and preferences․ Finally, it fosters a deeper appreciation for the animal and the food we consume․
This guide aims to demystify the process, taking you from a complete beginner to a confident home butcher․ We’ll cover everything from essential tools and techniques to understanding different meat cuts and ensuring safe handling practices․ Prepare to embark on a rewarding culinary journey!
Essential Butchery Tools
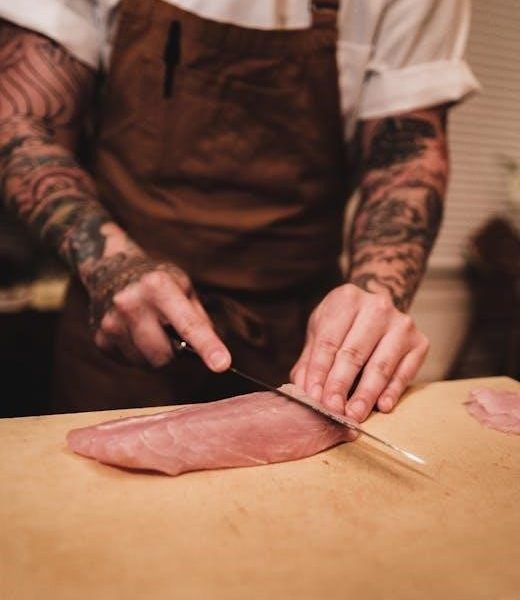
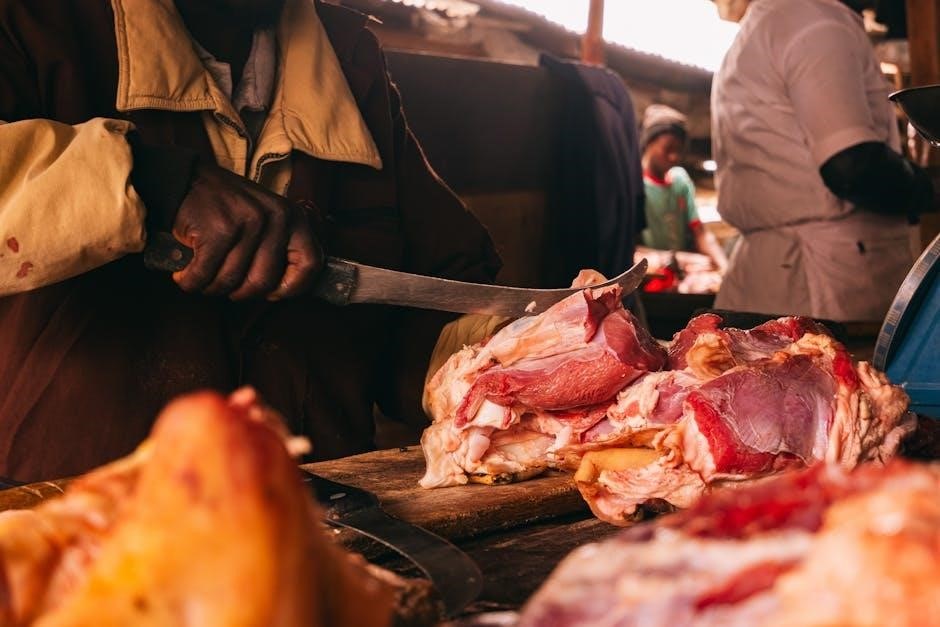
Successful butchery relies heavily on having the right tools․ While a fully equipped professional butcher shop is extensive, a home butcher can achieve excellent results with a focused selection․ A sharp chef’s knife, a boning knife (flexible and pointed), and a cleaver for heavier tasks are fundamental․
Beyond knives, a sturdy cutting board – preferably large and made of wood or a durable plastic – is crucial․ A steel honing rod is essential for maintaining knife sharpness between sharpenings․ A sharpening stone (or system) is needed for restoring a dull edge․ Don’t forget gloves for hygiene and grip!
Other helpful tools include kitchen shears, meat hooks for hanging larger cuts, butcher’s twine for tying roasts, and a meat mallet for tenderizing․ Investing in quality tools will not only make the process easier but also safer and more enjoyable․
Knives: Types and Maintenance
Butchery demands a variety of knives, each designed for specific tasks․ The chef’s knife is your all-rounder, ideal for general chopping and slicing․ A boning knife, with its narrow, flexible blade, excels at separating meat from bone․ Cleavers handle tough cartilage and bone, requiring controlled force․
Paring knives are useful for detailed work, while a slicing knife creates uniform cuts for roasts․ Proper maintenance is paramount․ Always hand wash and dry knives immediately after use․ Regularly hone with a steel to realign the blade’s edge․ Periodically sharpen using a whetstone or professional service․
Store knives safely – a knife block or magnetic strip is recommended․ Avoid cutting on glass or ceramic surfaces, as they dull blades quickly․ A sharp knife is a safe knife; a dull one requires more force and increases the risk of accidents․
Cutting Boards: Materials and Hygiene
Choosing the right cutting board is crucial for both knife longevity and food safety․ Wood (especially maple or walnut) is gentle on blades but requires diligent oiling to prevent cracking and bacteria absorption․ Plastic boards are non-porous, easy to sanitize, and often dishwasher-safe, but can dull knives faster․
Avoid glass or stone boards entirely – they will ruin your knife’s edge․ Always use separate cutting boards for raw meats and produce to prevent cross-contamination․ Thoroughly wash cutting boards with hot, soapy water after each use․ A diluted bleach solution can further sanitize, especially after handling poultry or pork․
Regularly inspect wooden boards for deep grooves where bacteria can harbor․ Consider having multiple cutting boards dedicated to specific food groups for optimal hygiene and safety;
Steel & Sharpening Stones: Keeping Blades Sharp
Maintaining a sharp knife is paramount for safety and efficiency in butchery․ A honing steel doesn’t sharpen, but realigns the blade’s edge, a daily practice extending sharpness․ Use light pressure and a consistent angle – around 20 degrees – gliding the knife heel to tip along the steel․
Sharpening stones, however, remove metal to create a new edge․ They come in various grits: coarse for repairing damage, medium for establishing the edge, and fine for polishing․ Water stones require soaking, while oil stones use honing oil․ Mastering sharpening takes practice; maintain a consistent angle and even pressure․
Regular honing and occasional sharpening are vital․ A dull knife requires more force, increasing the risk of slips and injuries․ Invest in quality sharpening tools and learn proper techniques for lasting blade performance․
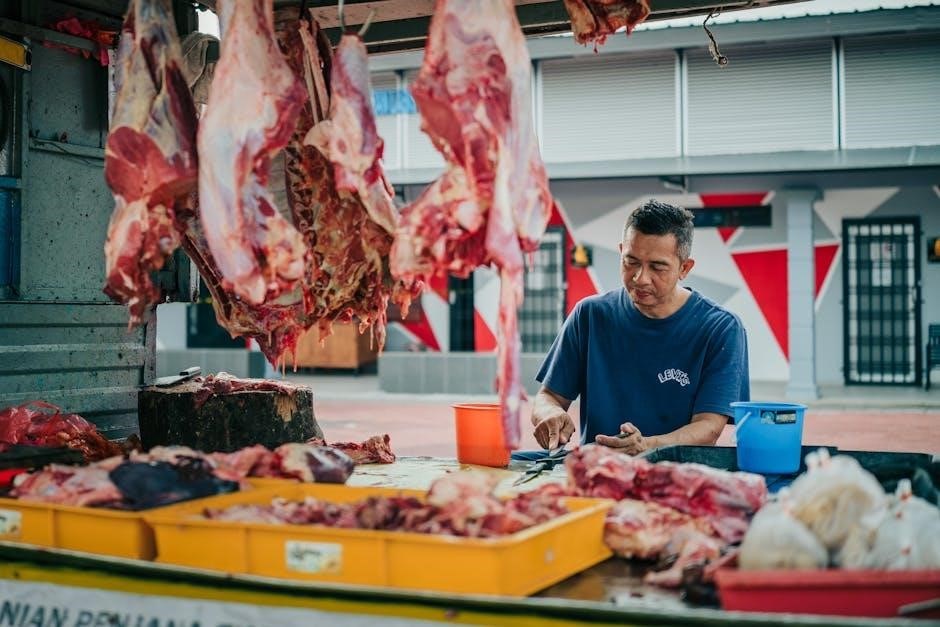
Understanding Meat Cuts: Beef
Beef presents a diverse range of cuts, each with unique characteristics impacting tenderness, flavor, and cooking methods․ Understanding these differences is crucial for successful butchery and culinary results․ Cuts are broadly categorized by their origin on the animal and the amount of work the muscle performs․
Generally, cuts from muscles used frequently – like the chuck or round – are tougher but possess richer flavor, ideal for braising or slow cooking․ More tender cuts, such as the rib or loin, come from less-worked muscles and are best suited for quick, high-heat methods like grilling or roasting․
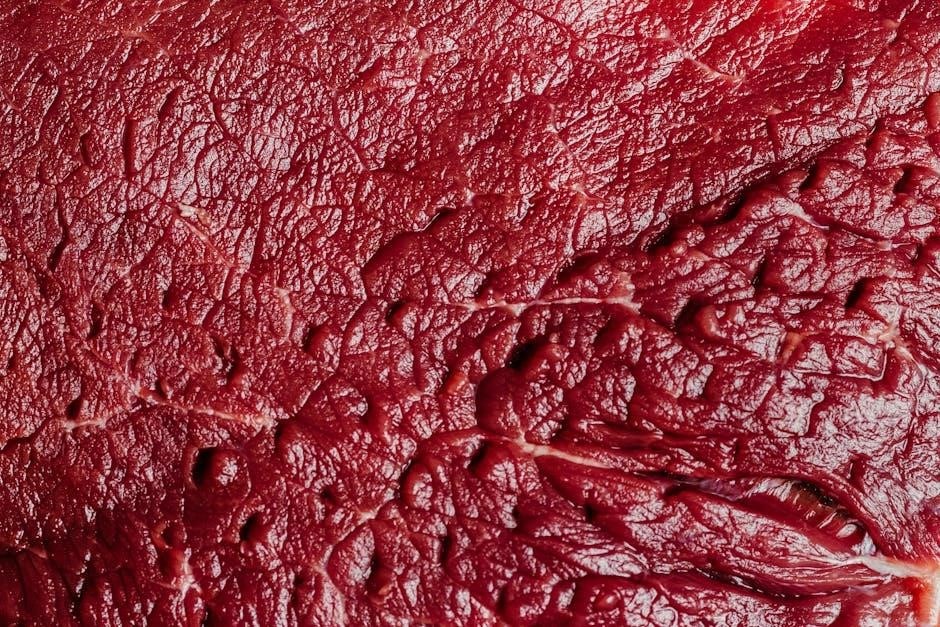
Factors like marbling (intramuscular fat) also contribute to flavor and tenderness․ Learning to identify these qualities will empower you to select and prepare beef cuts with confidence, maximizing both taste and texture․
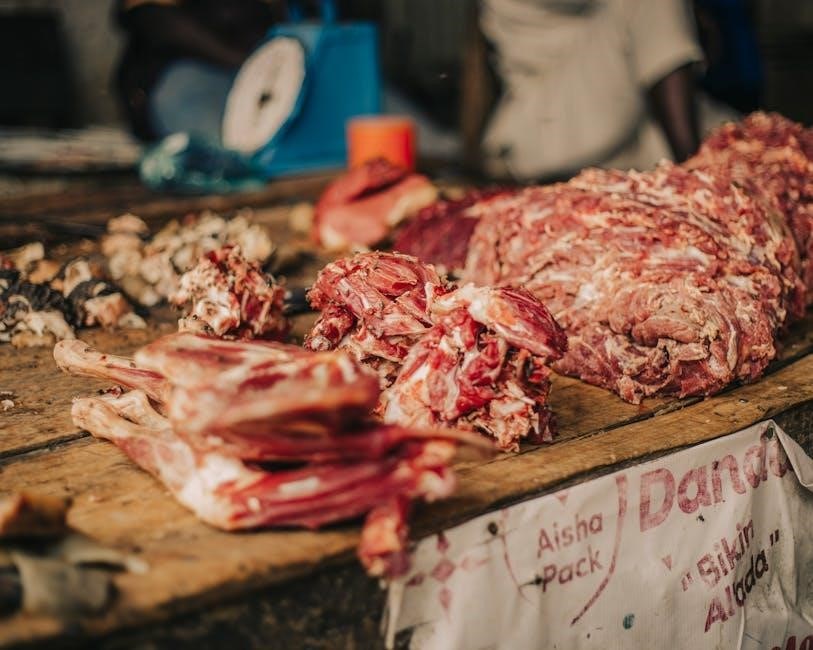
Primal Cuts of Beef: A Breakdown
Beef carcasses are initially divided into large sections called primal cuts․ These are the foundation for all retail cuts․ The Chuck, located at the shoulder, is known for its robust flavor and is ideal for braising, stews, and ground beef․ The Rib primal yields tender and flavorful steaks like ribeye and prime rib․
The Loin provides highly prized cuts such as tenderloin and strip steak, renowned for their tenderness․ The Round, from the rear leg, is leaner and tougher, best suited for roasting or braising․ The Brisket, from the breast, requires low and slow cooking to break down its connective tissues․
Finally, the Plate and Flank offer flavorful, though often tougher, cuts perfect for marinades and quick cooking․ Understanding these primal divisions is key to navigating beef butchery and selecting the right cut for your needs․
Popular Beef Cuts: Steaks, Roasts & Ground Beef
Steaks reign supreme, with Ribeye offering rich marbling and flavor, New York Strip providing a firm texture, and Tenderloin (Filet Mignon) delivering unparalleled tenderness․ For Roasts, Prime Rib is a celebratory centerpiece, while Sirloin Tip Roast offers a leaner, budget-friendly option․ Chuck Roast excels in slow-cooked preparations․
Ground Beef, a versatile staple, varies in lean-to-fat ratios․ 80/20 provides optimal flavor, while 90/10 is leaner for healthier choices․ Consider using ground chuck for superior taste․ Beyond these, cuts like Flank Steak are excellent for marinades and stir-fries, and Skirt Steak is perfect for fajitas․
Proper cooking methods are crucial; searing steaks, slow-roasting tougher cuts, and ensuring ground beef is cooked to a safe internal temperature are essential for delicious results․

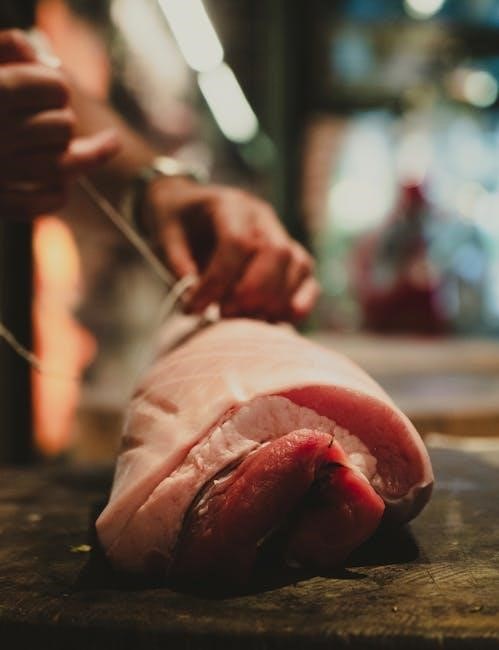
Understanding Meat Cuts: Pork
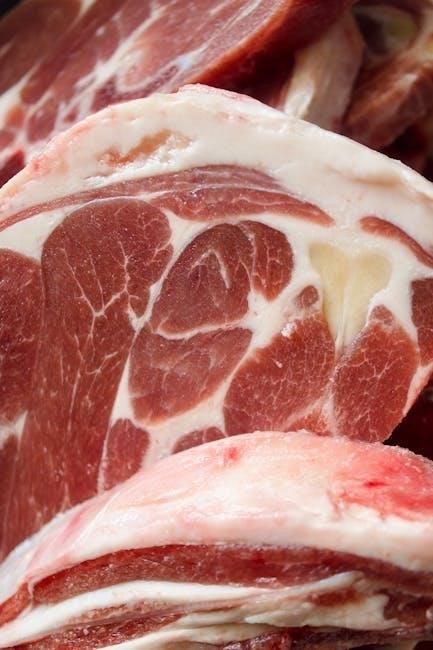
Pork, a remarkably versatile meat, offers a diverse range of cuts, each suited to different cooking methods․ Understanding these distinctions is key to maximizing flavor and tenderness․ Historically, pork was categorized based on moisture and marbling, influencing its ideal preparation․ Modern classifications focus on primal cuts and their subsequent sub-cuts․
Leaner cuts, like Pork Tenderloin, benefit from quick, high-heat cooking, while tougher cuts, such as Pork Shoulder, thrive with low and slow methods like braising or smoking․ Pork Loin provides a balance, suitable for roasting or chops․ The fat content significantly impacts flavor; fattier cuts remain moist during cooking․
Don’t overlook the potential of often-underappreciated cuts like Pork Belly, prized for its rich flavor and crispy texture when properly rendered․
Primal Cuts of Pork: Shoulder, Loin, Leg
The pork carcass is traditionally divided into several primal cuts, forming the foundation for all subsequent retail cuts․ The Shoulder, also known as the Boston Butt or Picnic Shoulder, is a relatively tough cut, rich in connective tissue, making it ideal for slow cooking methods like pulled pork or braising․ It boasts significant flavor due to its higher fat content․
The Loin is a leaner, more tender primal, yielding popular cuts like pork chops and roasts․ It’s generally more expensive than the shoulder․ Finally, the Leg, encompassing the ham, is a large, muscular cut․ It can be cured, smoked, or roasted, and benefits from brining to maintain moisture․
Understanding these three primals – Shoulder, Loin, and Leg – is crucial for effective butchery and selecting the appropriate cut for your desired dish․
Popular Pork Cuts: Chops, Roasts & Bacon
From the primal cuts, a variety of popular pork cuts are derived․ Pork Chops, typically cut from the loin, are versatile and quick-cooking, best enjoyed when not overcooked to retain juiciness․ Pork Roasts, also from the loin or shoulder, offer a more substantial meal, benefiting from slow roasting to tenderize tougher cuts․
Of course, no discussion of pork is complete without Bacon! Cured from the pork belly, bacon’s smoky flavor and crispy texture make it a breakfast staple and culinary ingredient․ Other notable cuts include tenderloin, spare ribs (from the belly), and country-style ribs (from the shoulder)․
Knowing how these cuts are prepared and their best cooking methods will elevate your pork dishes․ Experiment with marinades and rubs to enhance the natural flavors!
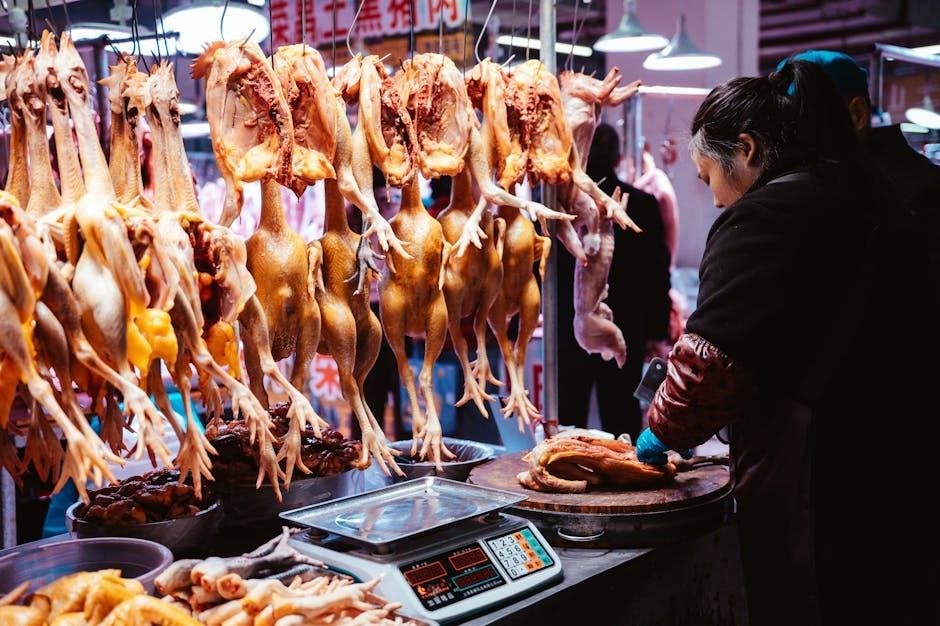
Understanding Meat Cuts: Poultry (Chicken)
Chicken, a widely consumed poultry, presents a unique butchery experience due to its bone structure and muscle distribution․ Unlike beef or pork, chicken yields distinct dark and white meat, each with differing flavor profiles and cooking requirements․ Dark meat, found in the legs and thighs, is richer in flavor and remains moist during longer cooking times․
White meat, comprising the breast, is leaner and cooks quickly, but can easily become dry if overcooked․ Understanding these differences is crucial for selecting the appropriate cut for your recipe․ Chicken can be purchased whole, or broken down into individual parts, offering flexibility in meal preparation․
Furthermore, the skin contributes significantly to flavor and moisture retention, so consider whether to remove it based on your preference and dietary needs․
Breaking Down a Whole Chicken
Breaking down a whole chicken is a foundational butchery skill, offering cost savings and control over your cuts․ Begin by patting the chicken dry and placing it breast-up․ Locate the backbone and, using sturdy poultry shears, cut along either side to remove it – this creates two symmetrical halves․
Next, separate the legs and thighs by cutting through the skin and joint connecting them․ Repeat on the other side․ Finally, divide the breast into halves or individual portions by following the breastbone․ Don’t discard the carcass; it’s excellent for making flavorful stock!
Practice makes perfect; initially, it may feel awkward, but with repetition, you’ll become proficient․ Remember safety first – always use sharp tools and maintain a clean workspace․
Common Chicken Cuts: Breasts, Thighs, Wings
Chicken breasts are incredibly versatile, lending themselves to grilling, baking, or pan-frying․ They’re lean but can dry out easily, so brining or marinating is recommended․ Thighs, both bone-in and boneless, offer richer flavor and remain moist during cooking due to their higher fat content – perfect for slow cooking or braising․
Chicken wings are a crowd-pleaser, ideal for appetizers or snacks․ They can be baked, fried, or smoked, and are famously paired with various sauces․ Consider separating the drumette, flat, and tip for varied textures․
Understanding the differences in these cuts allows you to choose the best option for your recipe․ Each part offers a unique culinary experience, showcasing the chicken’s versatility․
Basic Butchery Techniques
Mastering fundamental techniques is crucial for safe and efficient butchery․ Begin with proper stance and grip – stability and control are paramount․ Learn to utilize the weight of the knife, rather than force, for clean cuts․ Always cut away from yourself, maintaining a safe distance․
Essential techniques include slicing against the grain for tenderness, removing silver skin (the tough membrane), and trimming excess fat․ Practice makes perfect; start with simpler cuts and gradually progress․ Understanding how muscles are structured will significantly improve your precision․
Remember to keep your work surface clean and organized․ These foundational skills will build confidence and allow you to tackle more complex butchering tasks with ease and accuracy․
Identifying the Grain of the Meat
Understanding muscle fiber direction, or the ‘grain’, is vital for tenderizing meat․ The grain runs parallel to the muscle’s length․ Identifying it allows you to cut against the grain, shortening those fibers and resulting in a more tender bite․
Look closely at the meat’s surface; the grain appears as subtle lines․ For tougher cuts, like flank steak, cutting against the grain is especially important․ With some cuts, the grain may change direction, requiring you to adjust your cutting angle accordingly․
Practice observing the grain on various cuts of beef, pork, and poultry․ This skill takes time to develop, but it dramatically improves the eating experience․ A keen eye for the grain is a hallmark of a skilled butcher!
Safe Handling and Hygiene Practices
Maintaining impeccable hygiene is paramount when handling raw meat․ Always begin with thoroughly washed hands and sanitized work surfaces․ Use separate cutting boards – one for raw meats, and another for produce – to prevent cross-contamination․
Keep meat refrigerated at or below 40°F (4°C)․ Never leave raw meat at room temperature for more than two hours․ Properly clean and sanitize all tools – knives, saws, and cutting boards – after each use with hot, soapy water and a food-safe sanitizer․
Avoid wearing jewelry while butchering, as it can harbor bacteria․ Wear appropriate protective gear, like cut-resistant gloves․ Dispose of meat scraps and packaging responsibly․ Following these practices ensures both your safety and the quality of the final product․
Advanced Butchery Techniques
Moving beyond the basics, advanced techniques elevate your butchery skills․ Frenching racks of rib involves carefully removing the meat and fat from the rib bones, creating an elegant presentation – a skill demanding precision and a sharp knife․
Butterflying a chicken, or spatchcocking, requires removing the backbone to flatten the bird, ensuring even cooking and crispy skin․ Dry-aging meat, a more complex process, concentrates flavors and tenderizes cuts through controlled decomposition, requiring specific temperature and humidity control․
Fabricating whole muscle cuts, like breaking down a beef tenderloin into individual steaks, demands anatomical knowledge and consistent cutting angles․ Rendering fat, transforming it into flavorful lard or tallow, unlocks culinary possibilities․ Mastering these techniques transforms you from a butcher to a culinary artisan․
Frenching Racks of Rib
Frenching a rack of rib is a visually stunning technique, exposing the rib bones for an elegant presentation․ Begin by removing the silver skin from the back of the rack using a sharp boning knife, working carefully to avoid removing meat․
Next, using the tip of your knife, carefully scrape away the meat and fat from around each individual rib bone, creating a clean, exposed bone․ Maintain a consistent angle and pressure for a uniform look․ This requires patience and a steady hand․
Once all the bones are cleaned, trim any excess fat and silver skin․ The resulting rack of rib is now ready for roasting or grilling, offering a beautiful and professional finish․ Practice makes perfect – don’t be discouraged if your first attempt isn’t flawless!
Butterflying a Chicken
Butterflying, or spatchcocking, a chicken involves removing the backbone, allowing it to lay flat for faster, more even cooking․ Start by placing the chicken breast-side down on a cutting board․ Using sturdy kitchen shears, cut along both sides of the backbone․
Apply firm, consistent pressure to cut through the ribs․ Remove the backbone completely, saving it for stock․ Open the chicken like a book, and press firmly on the breastbone to flatten it․ You may hear a crack – this is normal․
Ensure the chicken lies relatively flat for even heat distribution during cooking․ Butterflying significantly reduces cooking time and results in incredibly crispy skin․ This technique is ideal for grilling, roasting, or pan-frying, delivering a flavorful and juicy result․